

Setting Up Virtual Machines for Oracle RAC Configuration
Software Prerequisites:-
Installation: Follow the installation instructions for your operating system to set up VirtualBox.
Download Oracle VirtualBox:
Begin by downloading Oracle VirtualBox version 7.1.0 from the VirtualBox website.
Download Oracle Linux ISO:
Download the Oracle Linux 7.7 ISO file from the Oracle Linux downloads page.
Setting Up Your VM for Node 1
To kick things off, let’s configure the virtual machine for Node 1. Start by launching VirtualBox, where you’ll create a new VM specifically for this node. We’ll be installing Oracle Enterprise Linux (OEL) 7.7 on both of our RAC nodes.
Stay tuned as we guide you through the installation!
- Open VirtualBox and click on New
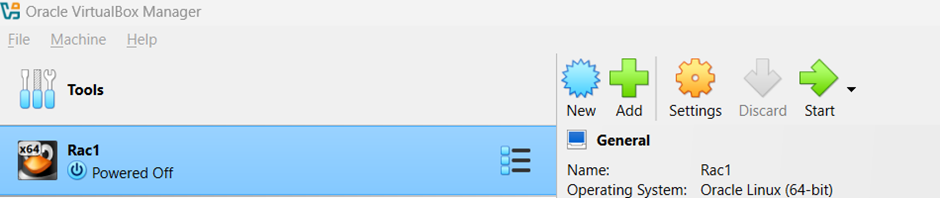
2. Name and Operating System
Create your first virtual machine, naming it Rac1. Choose a folder location for the VM and decide on the storage to be utilized. For the ‘Type,’ select the type of machine you want to configure, such as Windows, Solaris, or Linux. If you select Linux, specify the ‘Subtype,’ such as RHEL or Oracle, and choose the appropriate ‘Version’ (32-bit or 64-bit).

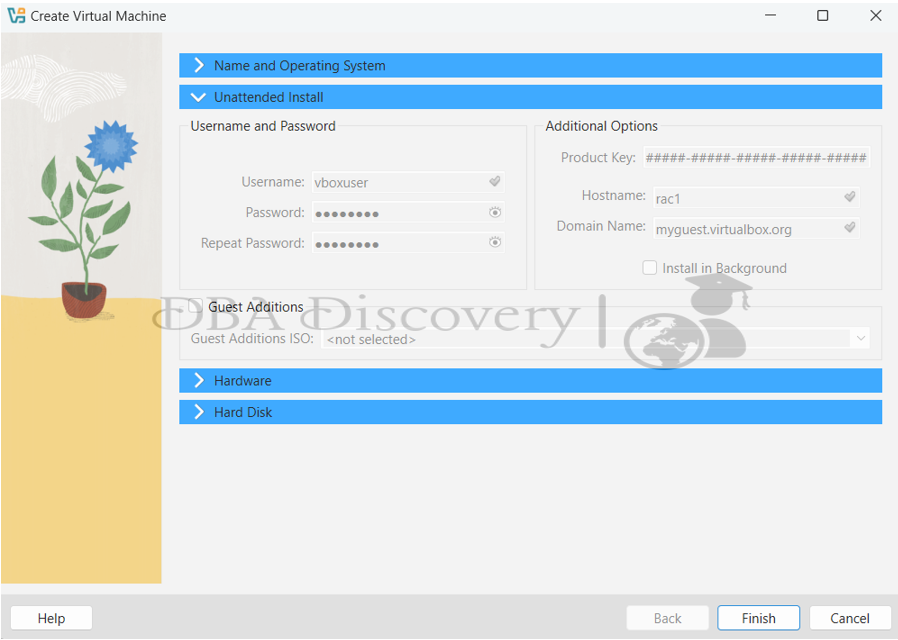
3.Unattended install
Do not make any changes in step 3, the Unattended Install step, just proceed to step 4
4.Hardware
Make sure to configure a minimum of 4 GB of RAM and allocate at least 2 CPU cores for the virtual machine.

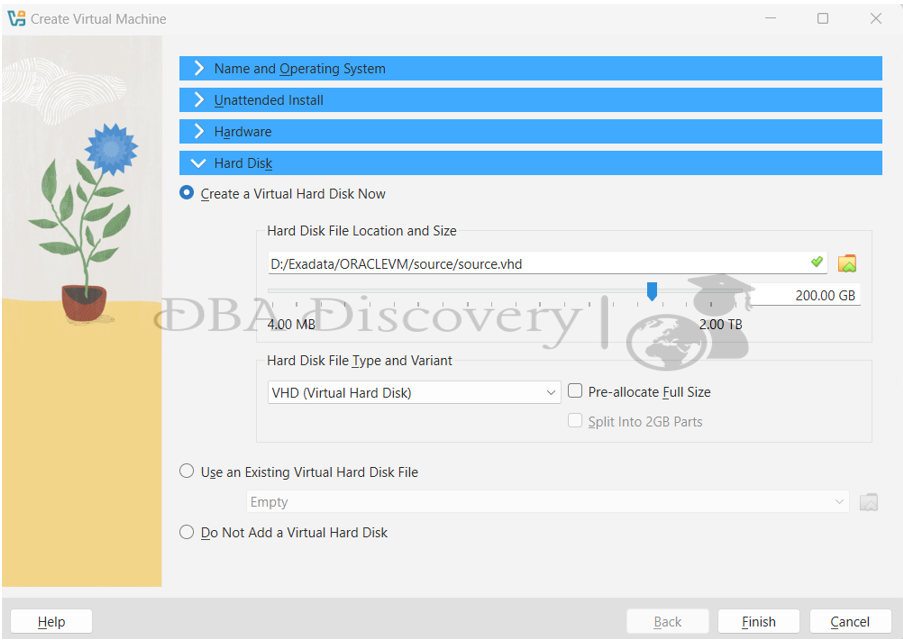
5.Hard Disk
Create a virtual hard disk. I have configured 200 GB for one node, this vary depending on your environment. Select the hard disk type and choose VHD (Virtual Hard Disk) as the variant. Once you’ve made these selections, click on Finish to complete the setup
Configuring Network Settings for Node 1
Now it’s time to configure the network settings for your Node 1 virtual machine. This step is crucial for ensuring that your Oracle RAC nodes can communicate effectively.
Let’s configure the network settings for Node 1 by enabling all three adapters
Adapter 1: Attached to (Internal Network) and name it pubnet.

Adapter 2: Attached to (Internal Network) and name it privnet.

Adapter 3: Attached to (Bridged Adapter)
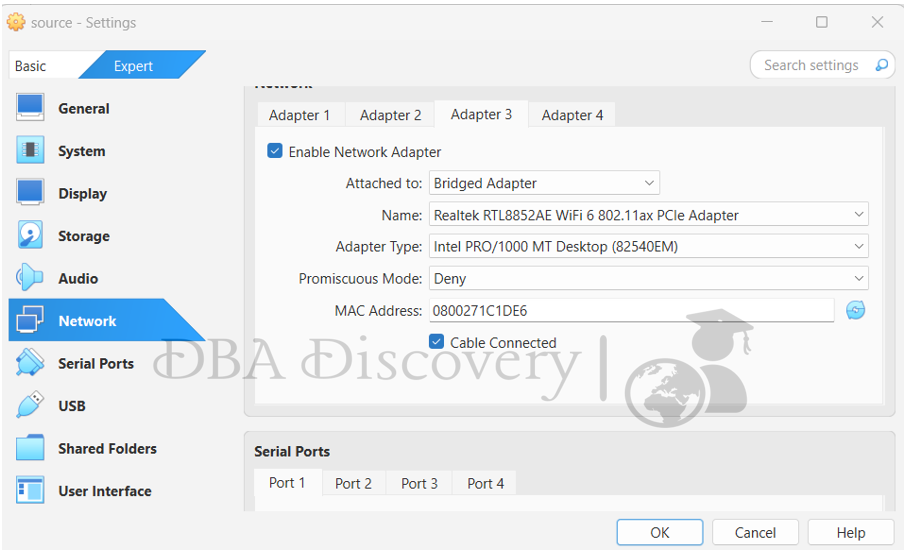
Once you’ve configured the adapters, click OK to save your settings.
Click on the System section and remove the Floppy disk from the boot order and click OK to save your settings.

Click on the Storage section, then select the Controller IDLE Empty. After that, choose the optimal Drive, select the ISO file, and click ‘OK’ to save the settings.

Configuration Overview
After completing the setup, the configuration now looks like this.

Starting the Installation
Once your configuration is complete, click on the “Start” button to begin the installation process. Follow the on-screen prompts to guide you through the installation steps.

After clicking Start use the up-arrow key to navigate through the menu options. Select Install Oracle Linux 7.7 to proceed with the installation.
When prompted, go with the default language settings. Once selected, press Continue to move on to the next step of the installation process.
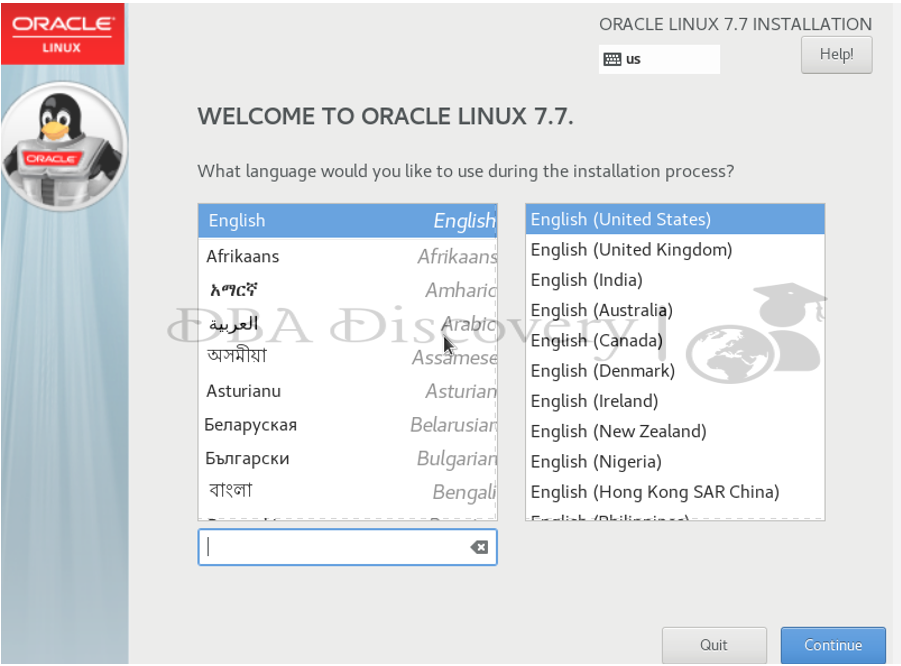
At this point, you should see an interface like the one displayed below.

Configuring Date & Time
Next, select the Date & Time option to configure your time zone, click on Done to save your
changes.

Software Selection Configuration
Now, navigate to the Software Selection section. Select Server with GUI and check the box for Add-Ons for Selected Environment. Make sure to select all available options to ensure a comprehensive installation. click on Done to save your changes.

Installation Destination
Next, select Installation Destination. Choose the option I will configure partitioning.

customize your disk partitions according to your needs. After configuring the partitioning, click on Done to review your settings. Accept the changes.

Network and Hostname Configuration
Select Network & Hostname to change the hostname. Click on Configure to access the network settings. Under IPv4, change the method from Automatic to Manual, and then enter your desired IP address.
Configuring a Public IP Address
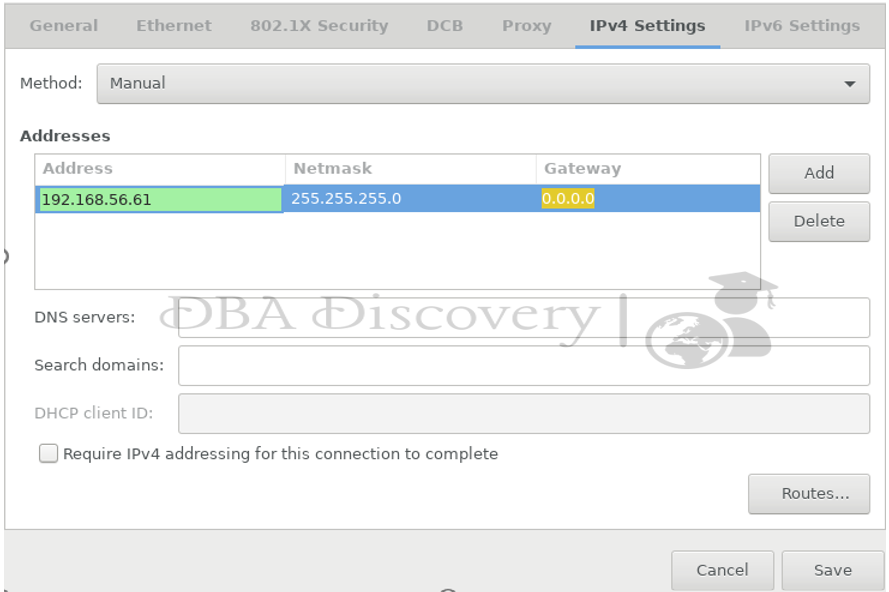
Configuring a Private IP Address

Starting the Installation
Once you have completed all configurations, click on Begin Installation to start the installation.

Final Step: Configure Root Password and User Creation In this final step
configure the Root Password to secure your system. After setting the root password, proceed to create a new user account. Follow the prompts to enter the username and password for the new user

Once you’ve completed these configurations, your installation will be ready!
Alert: The information provided on this website is for educational purposes only. It has been tested internally, but there is no guarantee it will work in every environment. It is strongly recommended to first test the process in a non-production environment, such as a User Acceptance Testing (UAT) setup. This allows you to verify configurations, identify any issues, and ensure a smooth transition to production, minimizing the risk of disruptions in your live environment. Always conduct thorough testing before applying changes to production systems.