
Step-by-Step Installation of Oracle Database 19c
Installing Oracle Database 19c Step-by-Step Guide
Now that you have the Oracle Database software installed, it’s time to proceed with the installation of Oracle Database 19c. Follow this step-by-step guide to get started.
If you’re looking for the Oracle Database software installation, click on the link below
Step-by-Step Installation of Oracle Database 19c Software
Navigate to the Oracle Home Bin Directory: Go to the bin directory of your Oracle Home
Run DBCA: Execute the following command to start the Database Configuration Assistant:
./dbca
This will launch the DBCA, allowing you to create or configure your Oracle database.
Screen 1: Select the Database Option
In the DBCA welcome screen, select “Create Database” as the operation you want to perform, then click “Next.”

Screen 2: Select the Database Configuration Mode
- Choose between “Typical Configuration” or “Advanced Configuration.” You can proceed with either option based on your needs.
- I’ll select “Advanced Configuration.”
- Click “Next.”

Screen 3: Select the Database Development Type
Select “General Purpose” or “Transaction Processing,” then click “Next.”

Screen 4: Select List of Nodes
Select the node on which you want to create the cluster database. Click “Next.”

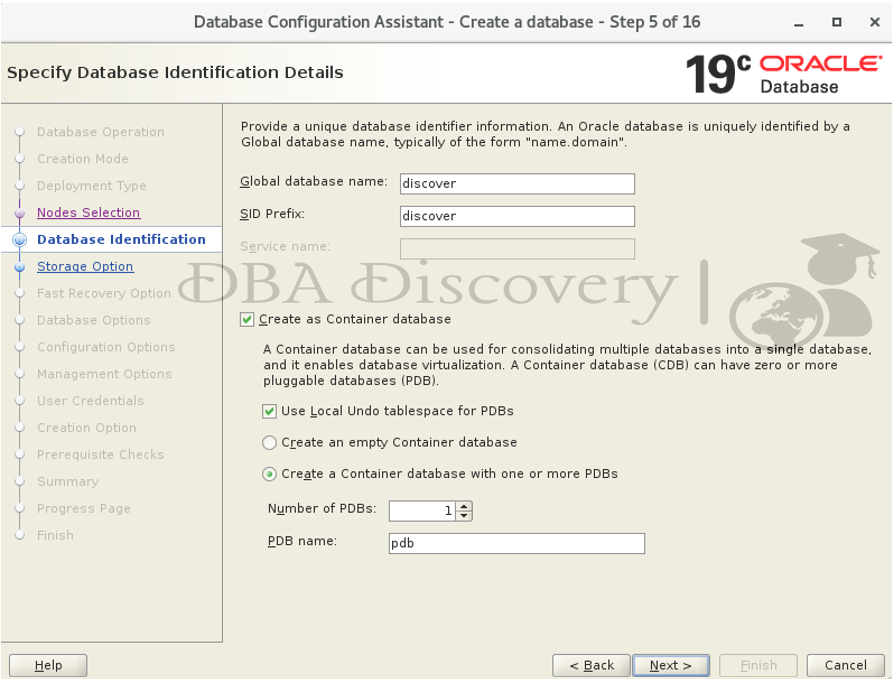
Screen 5: Specify the Database Identifier Details
- Enter the Global Database Name and the SID.
- If you want to create a container database, specify the number of PDBs and their names.
- Click “Next.”
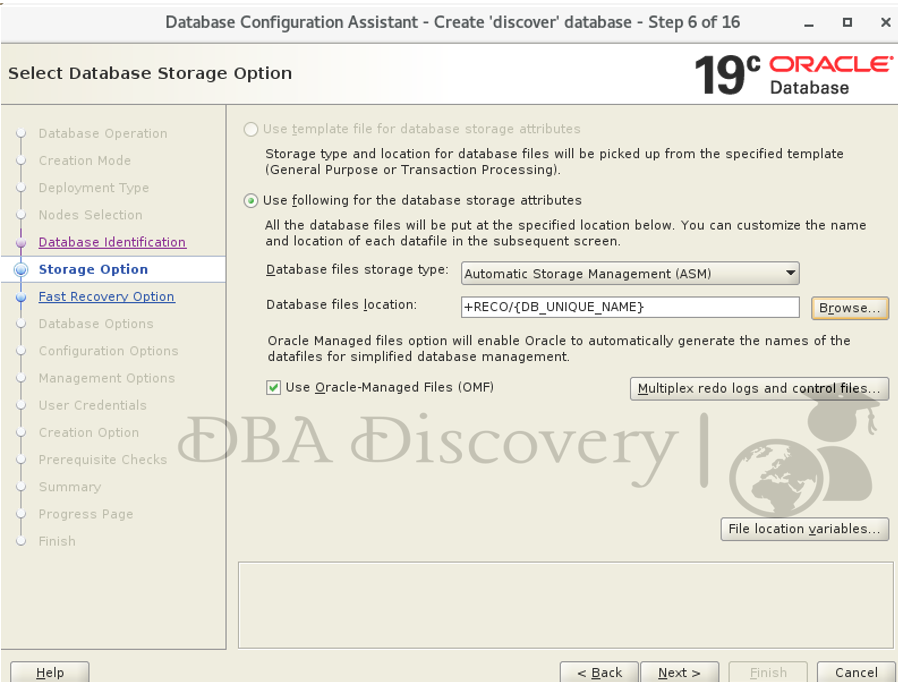
Screen 6: Select Database Storage Option
- Verify the database file location on the disk and set it according to your preferences.
- Ensure that the storage options meet your requirements.
- Click “Next.”
Screen 7: Select the Fast Recovery Option
- Verify the fast recovery disk settings, including size and format.
- Ensure that the configurations are correct.
- Click “Next.”

Screen 8: Select Oracle Data Vault Configuration Option
Uncheck the Oracle Data Vault option if it’s enabled, Click “Next.”

Screen 9: Specify the Configuration Option
- Assign the size for the SGA (System Global Area) and PGA (Program Global Area) as needed.
- Click “Next.”

Screen 10: Specify Management Options
Uncheck the option if it’s enabled, Click “Next.

Screen 11: Specify the Database User Credentials
Select the option to Use the same password for these accounts and enter the desired password for the oracle database accounts. Once you’ve entered the password, click the Next button to proceed.

Screen 12: Database Creation Options
Choose the default settings for creating the database, Click “Next” to proceed.

Screen 13 : Perform Prerequisite Checks
Since I haven’t set up the SCAN and DNS configurations yet, I’ll ignore this step for now. I’ll share the DNS configuration details soon. Click “Next” to continue.

Screen 14: Summary
Review the installation summary to ensure all settings are correct. Once you have verified the details, click the Install button to begin the installation process

Congratulations! The installation has been completed successfully.

Alert: The information provided on this website is for educational purposes only. It has been tested internally, but there is no guarantee it will work in every environment. It is strongly recommended to first test the process in a non-production environment, such as a User Acceptance Testing (UAT) setup. This allows you to verify configurations, identify any issues, and ensure a smooth transition to production, minimizing the risk of disruptions in your live environment. Always conduct thorough testing before applying changes to production systems.
I hope you found this blog helpful! We’d love to hear about your experiences or any questions you might have please share your thoughts in the comments. Your feedback is greatly appreciate