
Creating ASM Diskgroup using ASMCA
As the Grid user, follow these steps to create an ASM disk group using ASMCA
starting ASMCA by navigating to the Oracle home bin directory and executing the command:
./asmca

ASM Configuration Assistant
Once ASMCA opens, click on “Disk Groups” in the left pane
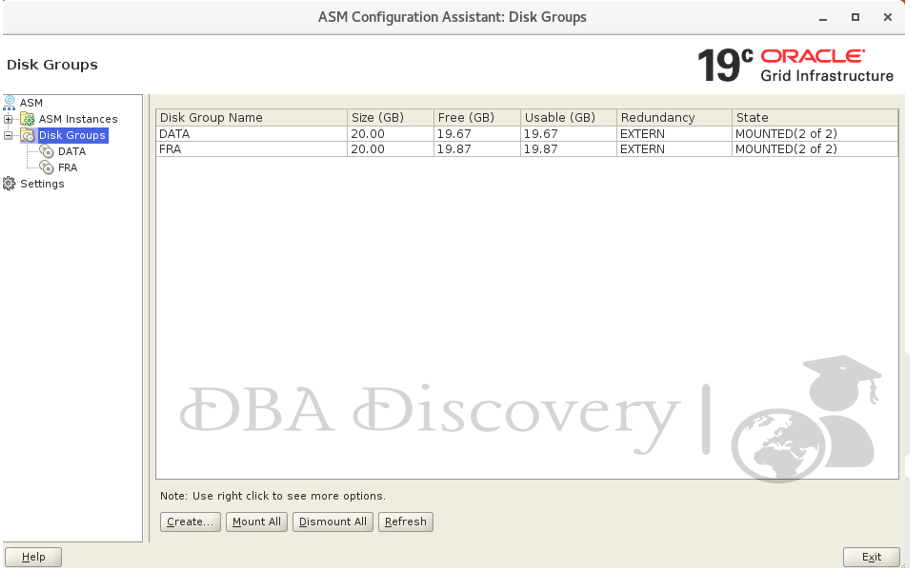
Create a New Disk Group
- Click on “Create” to create a new disk group.
- Select the PATH of the ASM disk group
- In the Create Disk Group window, enter a name for your disk group.
- Select the redundancy type as “External.”
- Click “OK” to proceed

Congratulations! You have successfully configured the ASM Disk Group. Click “Exit” to close ASMCA.

Alert: The information provided on this website is for educational purposes only. It has been tested internally, but there is no guarantee it will work in every environment. It is strongly recommended to first test the process in a non-production environment, such as a User Acceptance Testing (UAT) setup. This allows you to verify configurations, identify any issues, and ensure a smooth transition to production, minimizing the risk of disruptions in your live environment. Always conduct thorough testing before applying changes to production systems.
I hope you found this blog helpful! We’d love to hear about your experiences or any questions you might have please share your thoughts in the comments. Your feedback is greatly appreciate