
Step-by-Step Installation of Oracle Database 19c Software
Unzip the Software:
As the Oracle user, navigate to the directory where the Oracle software is downloaded. Unzip the software to the Oracle home directory, then run the installer using ./runInstaller
Start the Installation: Software Only
Screen 1: Select Configuration Option
Select the “Setup Software Only” option, then click the “Next” button.

Screen 2: Select the Database Installation Option
Select the “Oracle Real Application Cluster (RAC) Database Installation” option, then click “Next.”

Screen 3: Select List of Nodes
Select the nodes where the installer should install the Oracle RAC or Oracle RAC One, and then click “Next.”
Note: You can set up the SSH connectivity here. If you don’t, the next step will validate the connectivity and report any errors found.

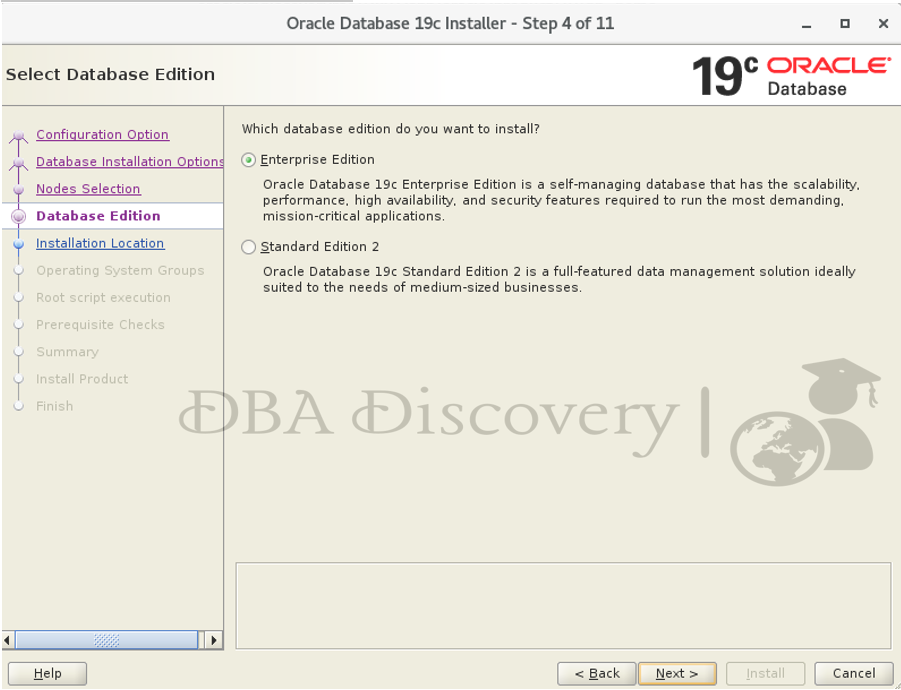
Screen4: Select the Database Edition
Choose the edition type. I recommend selecting “Enterprise Edition,” but feel free to choose the one that best fits your environment.
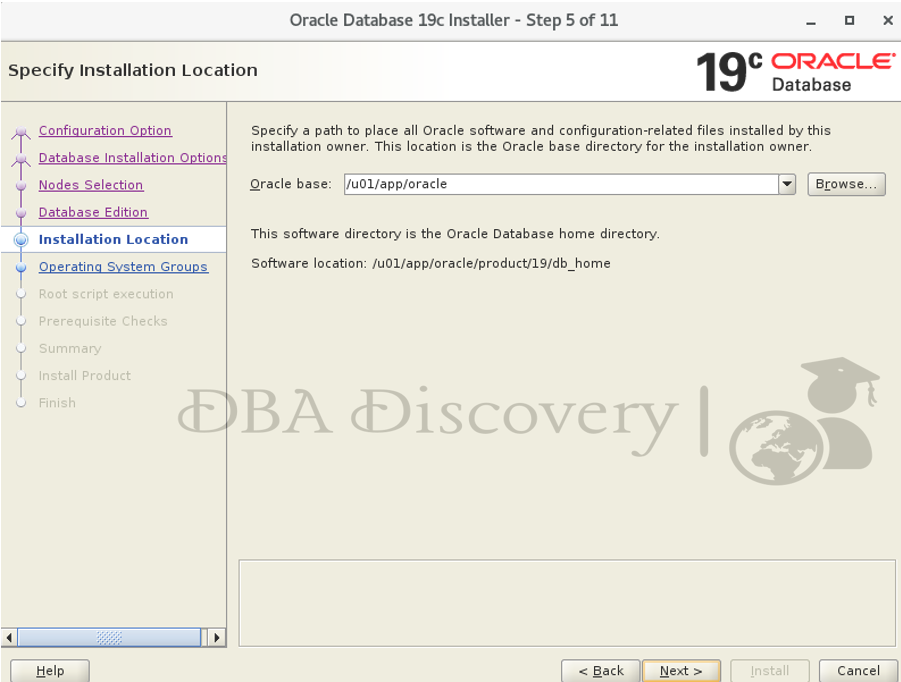
Screen 5: Specify Installation Location
Ensure that the base and home directories are configured correctly.
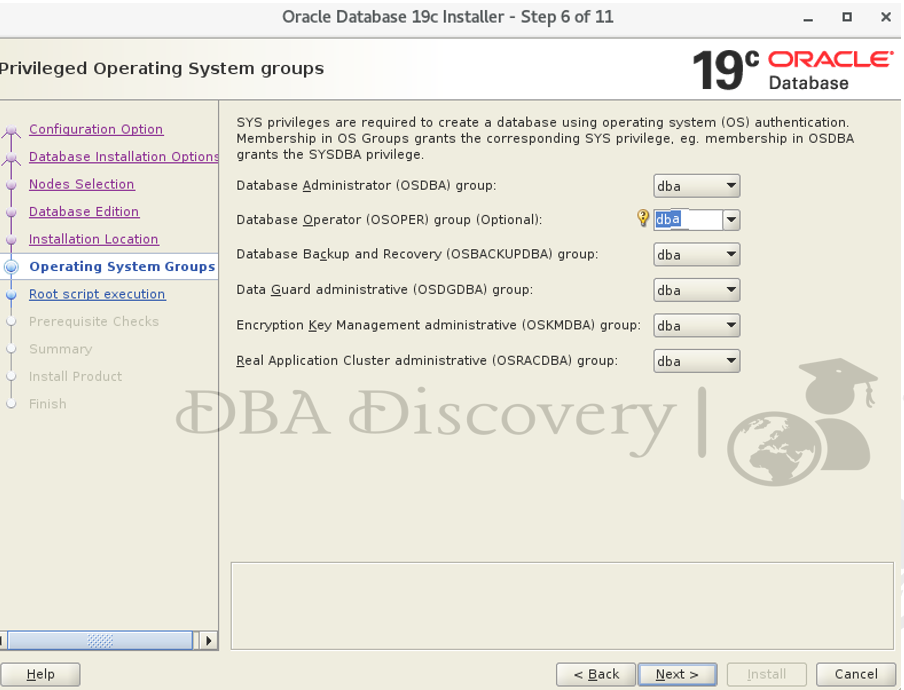
Screen 6: Privileged Operating System Groups
Choose the appropriate group according to your configuration and environment
Screen 7: Root Script Execution and Configuration
I’ll uncheck the option to run the root scripts automatically and will execute them manually later. Click the Next button to continue.

Screen 8: Perform Prerequisite Checks
Since I haven’t set up the SCAN and DNS configurations yet, I’ll ignore this step for now. I’ll share the DNS configuration details soon. Click “Next” to continue.

Screen 9: Summary
Review the installation summary to ensure all settings are correct. Once you have verified the details, click the Install button to begin the installation process.

Congratulations! The installation has been completed successfully.

Alert: The information provided on this website is for educational purposes only. It has been tested internally, but there is no guarantee it will work in every environment. It is strongly recommended to first test the process in a non-production environment, such as a User Acceptance Testing (UAT) setup. This allows you to verify configurations, identify any issues, and ensure a smooth transition to production, minimizing the risk of disruptions in your live environment. Always conduct thorough testing before applying changes to production systems.
I hope you found this blog helpful! We’d love to hear about your experiences or any questions you might have please share your thoughts in the comments. Your feedback is greatly appreciate